
Want to start your indoor riding practice? But don’t know how to install cleats on indoor cycling shoes? Don’t worry. You will find here the most simple and easy way of attaching your shoe cleats.
Whether you are doing indoor cycling or outdoor cycling, you will need spinning shoes for better output. And most of the spinning shoes don’t come with the cleats installed in it.
So, it sometimes seems a messy and puzzling task to install the cleats in the shoes. But the job is not that much hard also.
So, here in this writing, you will know about the different types of shoe cleats, way to install cleats into your spinning shoes, and the advantages of using cleat shoes.
Indoor Cycling Shoe & Cleats
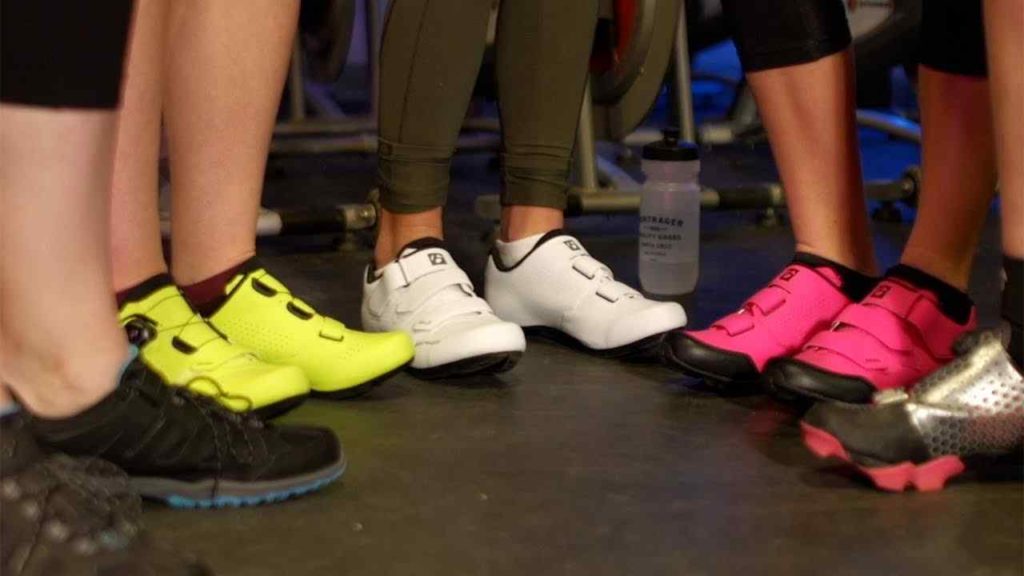
Before you go for installing at first, you must know about the spinning shoes and their cleats.Many brands are selling different spinning shoes for indoor cycling. And you will find most of these shoes have an option on the sole to install shoe-cleat.
So, you must buy the right spinning shoes, whether it’s for any indoor cycling classes or practice at home. By the way, if you are interested in SoulCycle classes, you can check top Soulcycle shoes to make your spinning class more convenient.
Now, let’s come to the cleats. The shoe cleats are small additional attachments to attach under the shoes. These cleats may be of metal, plastic, or even rubber. Primarily, there remain two types of shoe cleats.
- SPD cleat
- Look Delta cleat
-
SPD Cleat
SPD(Shimano Pedaling Dynamic) cleats are small shoe cleats from the Shimano brand. Earlier time, most people used it for MTB biking or trail biking. But nowadays, it is the most used shoe-cleat for both indoor and outdoor cycling.
You will find here two bolts with it to attach with the shoe sole. Most of the indoor cycling studios seem to use SPD cleat compatible peloton bikes for riding practice.
-
Look Delta Cleat
Delta cleats look like a delta sign or triangular shaped. The main difference of these cleats is these cleats come with three bolts to attach with the cycling shoes.
Due to having a delta shape, these cleats seem to be more stable and balanced when installed. Moreover, it seems to help to provide maximum potentials when pedaling.
How to Install Cleats on Indoor Cycling Shoes?
When you are introduced to both types of cleats, you are ready to install them on your shoes. Remember, whether it’s an SPD cleat or Delta cleat, the installing method is the same for both.
When you buy any shoe-cleat, you will find two cleats for two shoes and two or three bolts based on cleat type.
To install the cleats, what you need extra is a wrench or screwdriver to tighten the nuts. Now, follow the steps below carefully to attach your cleat into your indoor cycling shoes.
Step-1: Take out Cleats
Take out the cleats from the packaging and start installing it with one.
Step-2: Place One Cleat on the Hole of the Shoe
Now take any shoe right or left no matter. There is no specific cleat for the left or right shoe. Now turn over your shoe.
You will see two or three shafts compatible with your shoe cleats. Place one cleat on the hole of the shoe properly.
Step-3: Take the Wrench & Tighten the Bolt
Hold the cleat in the proper place and place the bolts. Then, take the wrench or the screwdriver and tighten the bolt.
Step-4: Repeat the Same for Other Shoe
After tightening the bolts, you will see your shoe cleats are attached correctly.
Then, repeat these same steps for another shoe. In this way, you can install the shoe cleats without any trouble.
Remember Before Installing Cleats
Always make sure that you have brought the right cleats compatible with your shoes. Some shoes provide two holes, and some cycling shoes offer three. Again some shoes are universally made and compatible with both types of cleats.
So, before you buy and install the cleats be sure of the compatibility of your shoes.otherwise, you will end up buying the wrong one and can’t be able to attach them.
While installing, if possible, make sure that you are installing the shoe-cleats under the ball of your feet. According to many gymnasts, when you spin by keeping the ball of your foot on the pedal, you can give more powers to pedal fast.
Advantages of Using Cleats
If you want to practice your indoor cycling and get your desired health effectively, then using a shoe cleat will add extra benefits. When you use a cleat and pedal with the cleat attached to it, it benefits you more than pedaling without cleats. Some other advantages you get
Convenient
Using a clip-in shoe for indoor cycling makes you more convenient while spinning. You can ride with maximum powers and warm up your muscles.
Slip-free
The best advantage of using cleats is the slip-free pedaling. No matter how fast you ride, your concentration won’t break, and you won’t have any tension of getting your feet out of the bike pedal.
Fast Cycling
When you spin with your shoes attached to the bike pedal, you can ride fast. You can ride with your whole muscle movement. As a result, you get excellent output from your indoor workouts.
Grip on Pedal
Another benefit of cycling with the cleats-installed shoe is you can have a more grip on your pedal. Asn the cleats remain clipped-in the pedal, you can have more grip and balance on your pedaling.
Final Words
Indoor cycling is a name of opportunity for those who can’t get time for outdoor riding practice. And installing cleats on shoes help you to get the most output from your indoor riding.
When starting your indoor cycling, if you don’t have any idea about how to install cleats on indoor cycling shoes then, this article can help you for sure.
Have fruitful indoor cycling!


